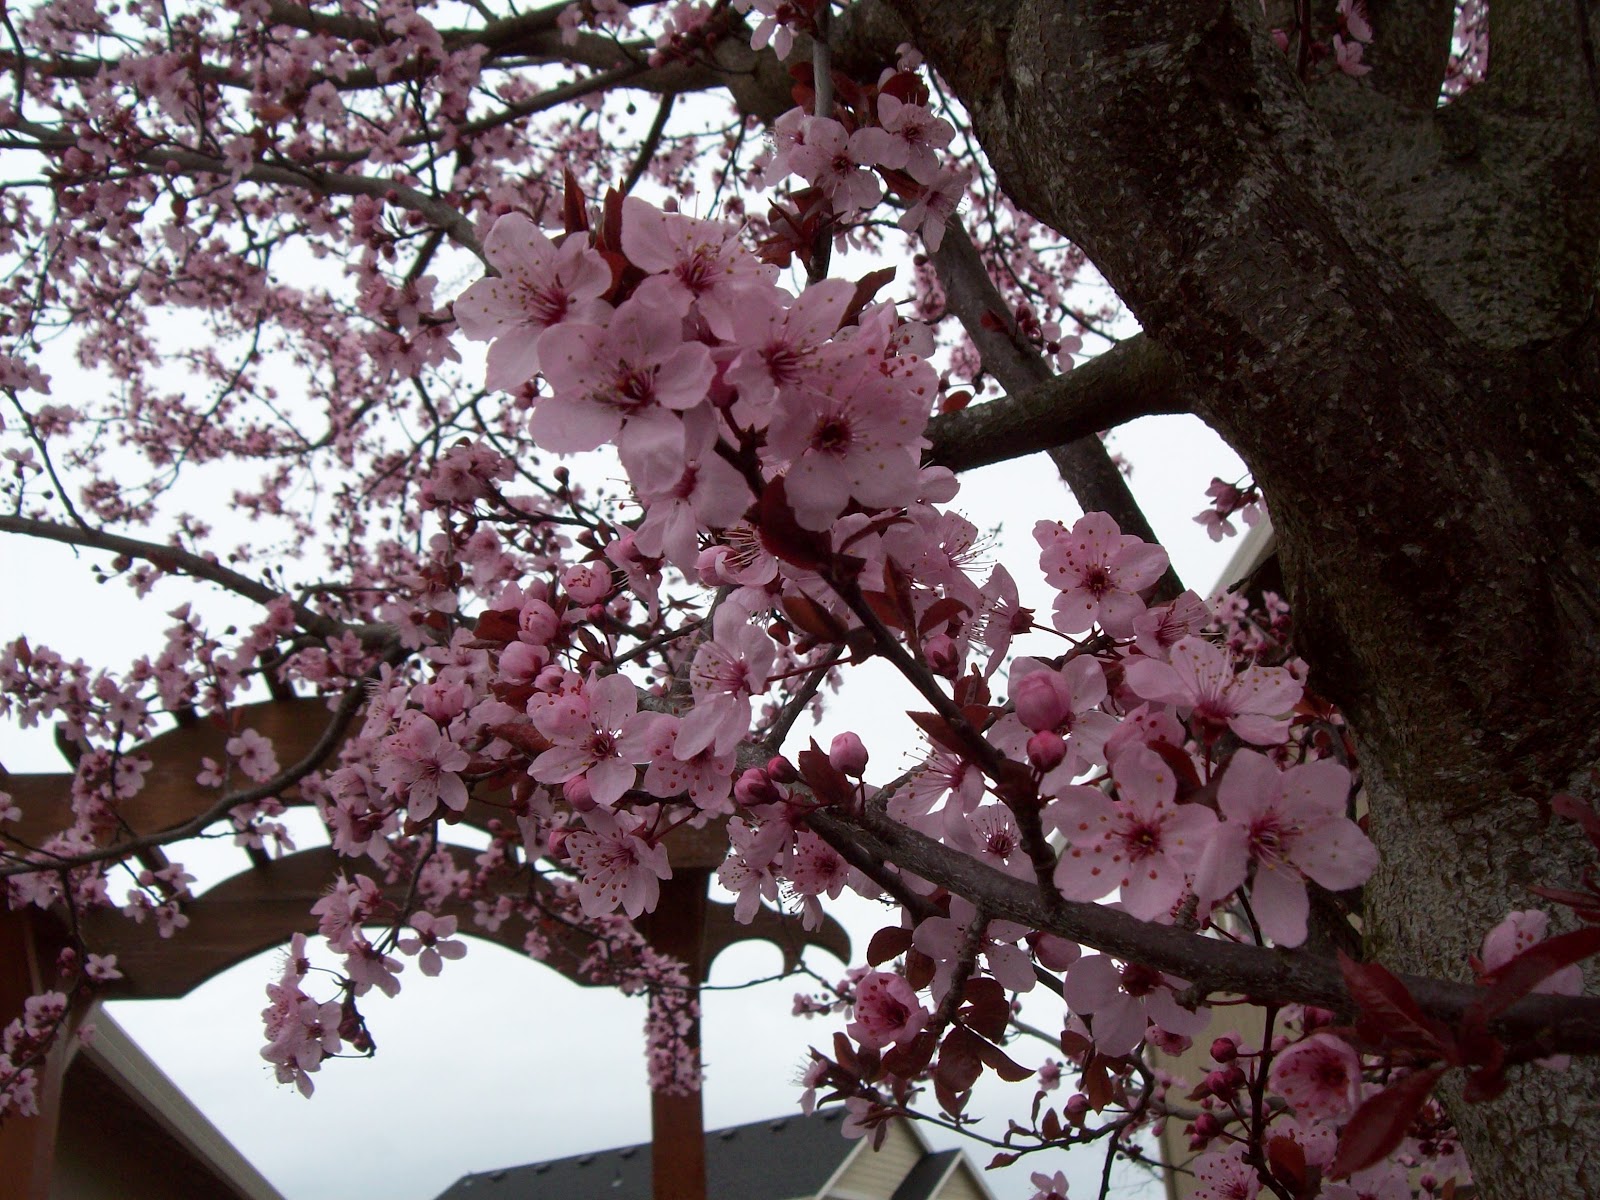
Last week, I took more pictures of the blossoms on our plum tree out front, the blossoms have opened quite a bit more, and they are beautiful. The whole neighborhood is planted with these trees, so there are pretty pink blossoms all over.

These blossoms reminded me of a craft that I used to do in elementary school. Making Cherry blossom branch pictures, using a fun painting technique- straw painting. For straw painting you will need basic craft paint, thinned with water, so that it is a thin consistency that will move along the paper nicely. You will need a nice sturdy painting paper, I used cardstock, and of course you will need a straw. Smaller straws work much better than wide straws, I used a bendy straw, and that was a good size. You will also want to cover your surface, as the paint easily can go off the paper.
Drop a few drops of paint on the paper, I started mine in the bottom corner so the branch would branch off from one location, and use your straw to blow on the paint, it will head off in different directions, and make branches. You can add more drops where you need it. It is a good idea to practice on another sheet of paper before you start your final project so you can get the hang of the technique. When you are happy with your branches, let the paint dry a bit.
Here are my straw painted branches.

Then it is time to make the pink blossoms, I found a nice pink paint, and just brushed on blossoms, adding a little brown dot in the center to make it look a little more defined as a flower.
Here is how it turned out.


Straw painting is fun, and a great project for kids (and adults), it is simple and has a nice result. It would be fun to try multiple colors for straw painting as well, and come up with all sorts of fun designs.
~
I also thought I would make up a fun cookie in celebration of spring's arrival. Usually I make these cookies at Christmas time, but this Christmas I made quite a few other cookies, and decided to save these for later in the year. The cookie is a Norwegian recipe called Krumkake. You do need a special Krumkake iron, somewhat like a waffle iron, but with a flat cookie design. My grandma taught me to make these when I was in middle school and doing a report on Norway, she had a non-electric iron that you use on the stove. When I was first married I purchased an electric one, during the pre-internet days it was more difficult to find a non electric Krumkake iron, and I was happy to find one, and have been using it ever since. I use the recipe that was included with the Krumkake iron.
Basic Krumkake Recipe
4 eggs
1 1/2 cups flour
1 cup sugar
1/2 cup melted and cooled butter
2 tablespoons corn starch
1/2 teaspoon vanilla extract
1/2 teaspoon cardamom
Mix all of the ingredients like you would a pancake batter, and follow instructions on your Krumkake iron to cook. While the cookie is still hot, you have to roll it around a wooden cone, which comes with the Krumkake iron, to form it into the tube shape like shown.
I decided to give these cookies a spring twist by adding pink and green food coloring to the batter to give the cookies a nice spring color, traditionally they are not colored.
Here is a picture of Krumkake that is uncolored, and one that is green.

Here are a couple of pink Krumkake on the krumkake iron just about ready to roll up.

Here they are all lined up and ready for filling.

For the filling I whipped up real whipping cream, ( 1 cup whipping cream with 1/4 cup sugar, and a teaspoon of vanilla), I made two batches and added red food coloring to one, to make pink, and green to the other. I piped in the whipped cream by transferring it to a large Ziploc bag, and cutting off the corner to use like a decorating tip.
Here is how they turned out, a delicious spring dessert.


During Christmas I often will bake up a big batch of these cookies to bring to a family holiday meal, I transport them unfilled, and just bring canned whipping cream in chocolate and regular flavor, and fill them after dinner, the kids like to fill their own. Of course you can also eat them unfilled, they are a delicious wafer type cookie, they are also good with a dusting of powdered sugar.

These are light and airy cookies, and would be wonderful for a spring or Easter dessert.
Here is a link to an electric Krumkake Maker from Amazon.
Hope everyone is enjoying the first week of spring. :)
oh i want to try that painting technique with my boys, looks fun! those cookies look scrumptious!
ReplyDeleteYou've been busy! Straw painting looks fun. And your desserts turned out beautifully!
ReplyDeleteStraw painting is something new to me, April. Looks like fun. It's been ages since I broke out the paints, but this looks like fun. Your cookies look so cheery!
ReplyDeleteWhat a fantastic piece of artwork! You always have the most creative ideas, I can't get over it. Thank you for sharing.
ReplyDeleteYum!!!! and I'll have to remember the straw painting with my grandkids.
ReplyDeleteGorgeous photos and your painting is beautiful! Great talent!
ReplyDeleteThe blossoms are beautiful! Such a great idea! And the krumkake looks delish :D Visiting from TGIF!
ReplyDeletethat is a brilliant way to make the branches of a blossom tree, it looks fab.
ReplyDeleteI love the painting!! soo pretty!!
ReplyDeleteI am your newest follower..pls follow back if you can.
and happy spring!
What a beautiful painting!! And the recipe looks delicious!! Thanks for sharing at Sharing Saturday, April!!
ReplyDeleteI just love straw painting. My little ones are too small just now (they'd probably suck than blow!) but I think we could gobble up those cookies pretty quick. Thanks for linking up to The Kids Co-op!
ReplyDeleteLOVE your straw painting - it turned out BEAUTIFULLY!! When my kids are older I'm going to have to try that!! Thanks for linking up to TGIF!! See you tomorrow!
ReplyDeleteBeth =-)