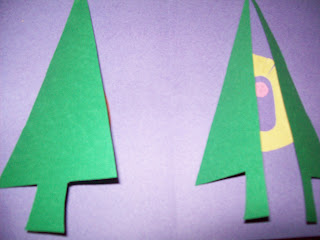
I started by drawing a tree shape on a sheet of green construction paper folded in half so I could cut out two trees at a time. I also made two tabs on each side of the tree. Draw a line down the center of the tree, top to bottom.

Then cut the tree in half down the center, like shown. Then fold the tabs under the tree, you will use these tabs to glue the tree down, so it will open up.

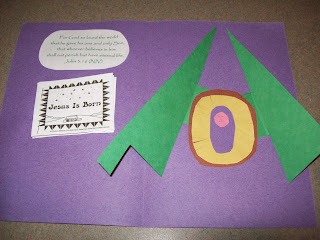
The idea is to glue the tree down by the tabs, so it opens up revealing the greatest gift- Baby Jesus. Baby Jesus in the manger is made by cutting fringe into a circular piece of yellow construction paper to make hay, glue the hay down to brown construction paper and trim it to leave a 1/4 inch brown boarder around the hay to represent the manger. Then cut out a oval shape for the swaddled Baby Jesus, and a little pink circle for his face, and glue on like shown. Then glue Baby Jesus under the tree.
I also printed out the verse- For God so loved the world that he gave his one and only Son, that whoever believes in him shall not perish but have eternal life. John 3:16 (NIV) We discussed that Jesus was our greatest gift from God, and the eternal salvation that Jesus offers us.
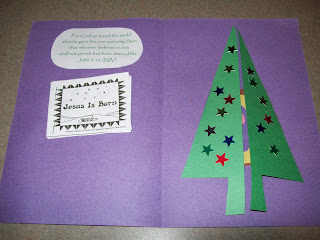
I also printed out a mini book of the Christmas Story to staple in the front of the book- I will include a link below for the reproducible mini books I use.
We decorated the front of our tree with foil star stickers. Just a side note- foil star stickers and colored circle blank price stickers, the kind that can be found very inexpensively by the office supplies are probably some of my most used supplies, after paper, glue and scissors. Kids love these classic foil star stickers, a very useful item for any Mom or teacher.
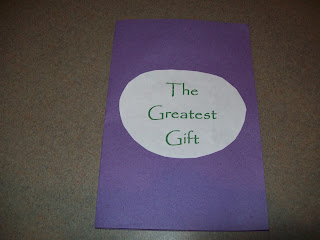
Lastly, I printed out the title of our lesson- The Greatest Gift, and glued it down so it would cover the stapled in mini book.
This was a fun lesson, I started out discussing with them gifts in general, and of course, being only a week until Christmas they all got very excited about their Christmas gift wishes, then we discussed that Jesus was our Greatest Gift and then I shared the Christmas story.
Here is my Amazon Affiliate Link for Take Home Bible Stories- they also have it in Old Testament- very great resource!
I also brought in My Medieval Pop Up Nativity Book to share.
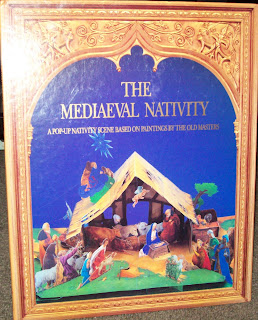
The kids enjoy looking inside this pop-up Nativity.

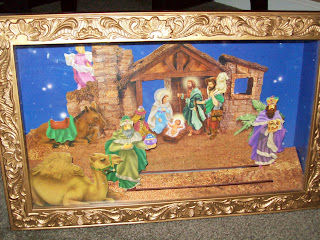
I also brought a Nativity Moving Music Box Picture- You pull a string on the side, and the wise men, shepherds, and angel all move. I found this when my kids were little and bought it for them to enjoy, my Sunday school class enjoyed this as well. Just a fun little novelty to help them remember our story.
After church, I came straight home, and got right to work cooking up appetizers. My children are teenagers, and in our church's youth group. Every Christmas they go shopping together as a youth group to buy gifts for their family, then afterward have a party. This year our Youth Group leaders came up with a great idea to have a "Progressive" Christmas Party, where the youth group would travel to a few different homes throughout the afternoon and evening enjoying Christmas festivities at each home.
So after the youth shopping trip they all arrived here for gift wrapping, appetizers, and Italian Sodas. Here are some of the appetizers I made.
These are bell pepper pinwheels, using red and green bell peppers since it is Christmas time. You can read the recipe in my Tea Sandwich Tutorial Post.

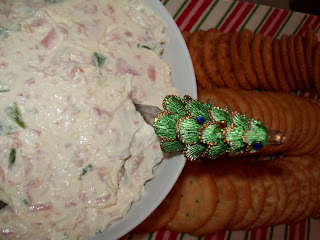
I made the wonderful cheese spread that my sister taught me- Two softened blocks of cream cheese, mixed with chopped up sliced ham probably about 10 pieces, and chopped green onions (I used about 3/4ths of a bunch and included both the white and green parts). Mix together with electric beaters, transfer to serving bowl, and it can be chilled or served right away, if it is chilled I would set it out about 15 minutes before serving so it softens a bit. Perfect to spread on Ritz Crackers.
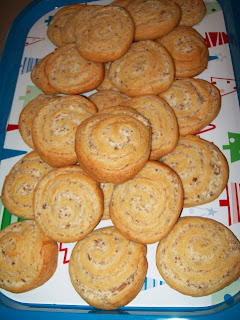
I made the Mushrooms Pinwheels that I made for Halloween- you can find the recipe in my Halloween 2011 Mushroom Pinwheels Post toward the bottom of the post. These are quickly becoming one of my favorite appetizers, I am a big mushroom fan.
Of course I had to make a tray of Li'l Smokeys Wraps, and I am glad I did, they were gone within the first 10 minutes, I will have to make more next time, so yummy!

For a small dessert I used my trusty mini cupcake pan to make a tray of mini Devil's Food Cupcakes, frosted with Cream Cheese Frosting and topped with a slice of cherry and red sprinkles.

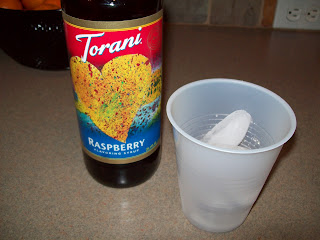
For a fun beverage we made Raspberry Italian Sodas. Italian Sodas are very easy to make.
You will need your favorite flavor of Italian Soda Syrup- I love Cherry, Pomegranate, and Raspberry for the holidays. Fill a cup about halfway with ice.
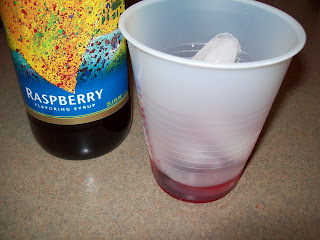
Then pour in syrup about a quarter of an inch in the bottom of the cup, maybe a splash more if you like your soda sweet.
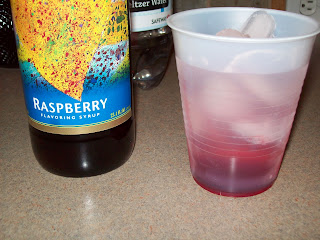
Then add seltzer water leaving about an inch of space left in the cup.
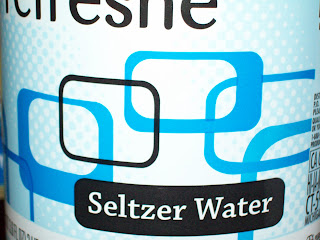
Like this.
Then add a little half and half to the top like about a quarter of an inch at the most, the half and half looks very pretty floating through the seltzer water.

Use a straw to very gently stir the syrup and soda and half and half together, then top with whip cream and enjoy!

We had quite a houseful of youth, I really enjoyed having them all over along with some of the youth group leaders, such a wonderful bunch of people!! When they were done wrapping their gifts, and enjoying snacks, they all headed off to the next house for more fun, can't wait to hear about it when the kids get home. They will be having a white elephant gift exchange and lots more food and treats and fun. Perfect way to kick off the final week before Christmas!
Love the Christmas tree craft. And the food looks yummy. love the pigs in the blanket too, it's sooo good :)
ReplyDelete~MiaB
www.mamamiasheart2heart.com
Your church has so many fun activities for the young. It sounds like a wonderful place to worship. Yummy food!
ReplyDeleteThanks MiaB~ I love Li'l Smokeys too-yummy! Thanks for stopping by!
ReplyDeleteJane~ I do enjoy being a part of our church, it is a smaller church and we have known many of the families for quite some time, it is nice for the kids to all grow up together, feels like extended family!
Hope everyone is having a great Monday!!
What a wonderful and meaningful Christmas craft :)
ReplyDeleteEverything looks so wonderful; delicious looking food too!
Stopping by to wish you a very Merry Christmas!!
You were busy! Love the craft!!!
ReplyDeleteThanks for stopping by Reading Confetti!
Your paper crafts are so cute! I love making cards although I'm not very good at it, and I especially like the Christmas tree that opens to reveal baby Jesus. Hooray!
ReplyDeleteThanks for visiting my blog! The baby jesus paper craft is a lovely idea. I bet teh children loved it!
ReplyDeleteLuciana
Thanks for linking on the Afterschool Hop! I love your card idea and will be making it next year with my little ones.
ReplyDeleteWow, so many wonderful things! I especially love your Christmas tree craft and pop-up nativity book.
ReplyDeleteThanks for sharing on Monday Madness.